
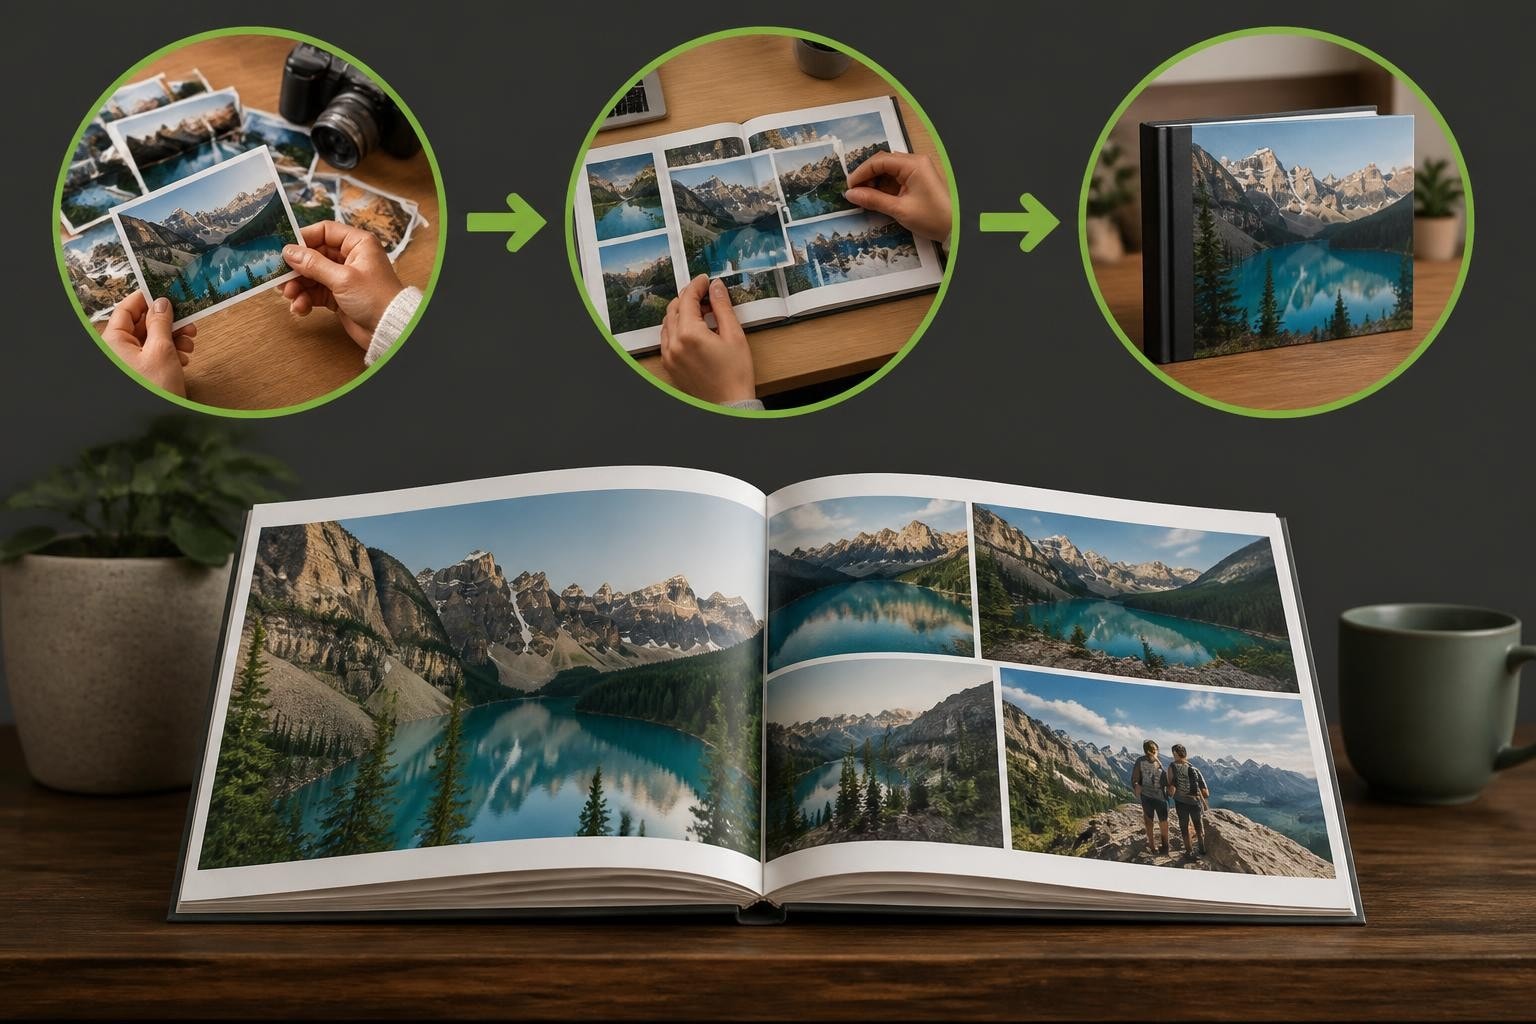
Creating physical photo albums remains one of the most meaningful ways to preserve and share your treasured memories in 2026. Whilst digital storage offers convenience, nothing quite compares to the tactile experience of flipping through beautifully printed pages, reliving moments with family and friends. Whether you're documenting a wedding, holiday, or family milestones, learning to make your own photo albums transforms scattered digital files into curated keepsakes that last generations. This comprehensive guide explores the entire process, from selecting photographs and designing layouts to choosing the right printing technology for professional-quality results.
Understanding the Photo Album Creation Process
When you make your own photo albums, you're embarking on a creative journey that combines curation, design, and production. The process requires careful planning to ensure your finished product reflects the story you want to tell.
The first step involves defining your album's purpose and scope. Are you creating a wedding album, chronicling a year of family life, or documenting a special trip? This clarity shapes every subsequent decision, from size and format to the number of pages required.
Key planning considerations include:
- Target audience and intended use (gift, personal keepsake, or professional portfolio)
- Time period or events to be covered
- Budget allocation for printing and materials
- Timeline for completion
- Distribution requirements (single copy or multiple prints)
Modern photobook software has revolutionised how individuals and businesses approach album creation. Taopix enables businesses to offer customers intuitive design tools with flexible workflows that accommodate both novice users and experienced designers, ensuring anyone can produce professional results.
Selecting the Right Photographs
Photo selection represents perhaps the most crucial phase when you make your own photo albums. Quality trumps quantity every time. A well-curated album of 50 exceptional images tells a more compelling story than 200 mediocre ones.
Begin by gathering all potential images into a single folder. Review them critically, removing duplicates, poor exposures, and images that don't advance your narrative. Look for photographs with strong composition, proper focus, and emotional resonance.

Resolution matters significantly for print quality. Images destined for full-page layouts should be at least 300 DPI at the printed size. Smaller images can work with slightly lower resolution, but never compromise below 200 DPI for professional results.
| Image Type | Minimum Resolution | Recommended Resolution | Ideal Use |
|---|---|---|---|
| Full-page | 2400 x 3000 pixels | 3000 x 4000 pixels | Feature spreads |
| Half-page | 1800 x 2400 pixels | 2400 x 3000 pixels | Supporting images |
| Quarter-page | 1200 x 1800 pixels | 1800 x 2400 pixels | Detail shots |
| Thumbnails | 600 x 900 pixels | 900 x 1200 pixels | Montages |
Professional photographers understand that album-worthy images require more than technical perfection. They need emotional weight and contextual relevance. Studios like One Big Happy Photo, LLC specialise in capturing heirloom-quality photographs designed specifically for printed albums, ensuring every frame meets the exacting standards required for professional photobook production.
Designing Effective Album Layouts
Layout design transforms individual photographs into cohesive visual narratives. When you make your own photo albums, understanding fundamental design principles elevates your work from simple photo collection to professional photobook.
Establishing Visual Hierarchy
Every spread should have a clear focal point. Readers' eyes naturally gravitate to larger images, high-contrast elements, and faces. Use this knowledge to guide viewers through your story intentionally.
Consider the rule of thirds when positioning key images on a page. Placing important elements at intersection points creates balanced, visually pleasing compositions. Avoid centring every image, as this can create monotonous, static layouts.
Effective hierarchy techniques:
- Vary image sizes to create interest and emphasis
- Use white space strategically to give images room to breathe
- Group related photos to reinforce narrative connections
- Maintain consistent margins for professional polish
- Balance busy pages with simpler spreads for visual rhythm
Colour coordination strengthens design cohesion. When working with multiple images per page, look for common colour palettes or tones. This doesn't mean everything must match perfectly, but some visual harmony prevents chaotic, disjointed layouts.
Crafting Narrative Flow
Successful photo albums tell stories with beginning, middle, and end. Structure your album to guide readers through events chronologically or thematically, creating natural progression from opening page to conclusion.
The first few pages set expectations and establish tone. Start with a striking image that encapsulates the album's essence, followed by context-setting photographs that introduce people, places, or themes.
Middle sections should develop your narrative through varied pacing. Alternate between detailed, intimate moments and broader establishing shots. Include candid photographs alongside posed portraits to maintain authenticity and interest.
Consider these design tips for your next photo album to enhance storytelling effectiveness and create albums people actually revisit.

Choosing Formats and Specifications
Technical specifications significantly impact your album's final appearance and durability. Understanding options helps you make informed decisions that align with your vision and budget.
Album Size and Orientation
Standard photobook sizes include:
- 20x20cm (8×8"): Compact, perfect for smaller collections or gift albums
- 30x30cm (12×12"): Popular for weddings and family albums, offering substantial display space
- 28x21cm (11×8.5"): Landscape format ideal for travel and panoramic photography
- A4 (21x30cm): Portrait orientation suits certain subjects and maintains familiar dimensions
Larger formats command attention and showcase images impressively, whilst smaller albums offer portability and cost savings. Consider where and how recipients will view your album when selecting size.
Paper Stock and Binding
Paper choice affects colour reproduction, durability, and perceived quality. Options typically include:
| Paper Type | Characteristics | Best For |
|---|---|---|
| Lustre/Satin | Slight sheen, fingerprint resistant | General purpose, portraits |
| Matte | No glare, sophisticated finish | Fine art, black and white |
| Glossy | Vibrant colours, high contrast | Vivid landscapes, product photography |
| Fine Art | Textured, museum quality | Premium albums, artistic work |
Binding methods range from stapled saddle-stitch (economical but limited page count) to layflat binding (premium, allows seamless spreads) and hardcover case binding (traditional, durable). Layflat binding has become increasingly popular for wedding and professional albums, as it eliminates the centre gutter that can obscure portions of spanning images.
Implementing Professional Design Techniques
Advanced techniques distinguish amateur photo collections from professionally crafted albums. When you make your own photo albums using sophisticated approaches, the results rival traditionally produced photobooks.
Mastering Typography
Text should enhance, not overpower, your photographs. Limit yourself to two typeface families per album, using one for headings and another for body text. Sans-serif fonts offer clean, modern aesthetics, whilst serif fonts convey traditional elegance.
Keep text minimal and purposeful. Captions should provide context without stating the obvious. Date ranges, location names, and brief quotes add value; lengthy descriptions detract from visual impact.
Font sizing hierarchy typically follows:
- Album title: 36-48pt
- Section headings: 24-30pt
- Photo captions: 10-14pt
- Credits/copyright: 8-10pt
Colour Theory Application
Understanding colour psychology helps create desired emotional responses. Warm colours (reds, oranges, yellows) convey energy and intimacy, whilst cool colours (blues, greens, purples) suggest calm and sophistication.
Monochromatic colour schemes create unified, elegant albums. Analogous colours (neighbours on the colour wheel) offer subtle variety whilst maintaining harmony. Complementary colours provide dynamic contrast but require careful balance to avoid visual clash.
Background colours should never compete with photographs. Neutral tones (white, cream, grey, black) prove most versatile, allowing images to take centre stage. Reserve coloured backgrounds for deliberate artistic effect.
Businesses offering photobook services benefit from software that provides users with professional design assistance. As detailed in this 15-year case study with Taopix, robust technology platforms enable companies to deliver consistently excellent results whilst accommodating varying skill levels.
Preparing Files for Professional Printing
Proper file preparation ensures your digital designs translate accurately to printed products. Technical precision at this stage prevents disappointment when receiving finished albums.
Resolution and Colour Management
Always work in RGB colour space during design, as most photobook software and printers handle conversion to CMYK internally. However, understand that printed colours may appear slightly different from screen displays due to the fundamental differences between emitted light (screens) and reflected light (print).
Calibrate your monitor if colour accuracy is critical. Without calibration, what appears perfectly balanced on screen might print too dark, too light, or with incorrect colour casts.
Export final files at the exact dimensions and resolution specified by your printing service. Upsampling low-resolution images rarely produces acceptable results. If an image doesn't meet minimum requirements, replace it rather than forcing it into your layout.
Bleed and Safe Zones
Professional printing requires understanding bleed and safe zones:
- Bleed: Extra image area (typically 3-5mm) extending beyond trim lines, ensuring no white borders if cutting is slightly misaligned
- Safe zone: Area inset from trim lines (typically 5-10mm) where important content should remain to avoid accidental cropping
- Centre gutter: Additional safe zone along the spine where binding may obscure content

Software tools should automatically handle these technical requirements, allowing creators to focus on design rather than printing technicalities. When you make your own photo albums using professional-grade platforms, these safeguards protect against common production errors.
Leveraging Technology for Streamlined Creation
Modern photobook creation software has transformed what once required professional design skills into accessible processes for anyone with an eye for composition. Technology bridges the gap between creative vision and technical execution.
Automation and Smart Design Features
Contemporary platforms offer intelligent features that accelerate album creation:
- Auto-layout engines that arrange selected photos according to design principles
- Theme templates providing professionally designed starting points
- Smart cropping that identifies faces and important subjects
- Colour matching that harmonises page elements automatically
- Spell checking for captions and text elements
These tools don't replace creativity; they handle technical heavy lifting, freeing creators to focus on storytelling and aesthetic decisions.
For businesses offering photobook services, providing customers with flexible workflows and customisable user experiences differentiates their offerings in competitive markets. Scalable technology accommodates both quick, automated creation and detailed, hands-on design.
Cloud-Based Collaboration
Cloud platforms enable collaborative album creation, particularly valuable for group projects like wedding albums (combining couple's photos with guests' contributions) or family histories (gathering images from multiple relatives).
Real-time collaboration features allow multiple users to contribute photos, suggest layouts, and provide feedback without email chains or file versioning confusion. This democratises album creation whilst maintaining design consistency.
Optimising Production and Fulfilment
Production efficiency determines whether photobook businesses can scale successfully whilst maintaining quality and profitability. Strategic decisions about manufacturing and distribution impact both customer satisfaction and operational margins.
Print-on-Demand Advantages
Print-on-demand technology eliminates inventory risk and upfront capital requirements. Albums are produced individually as ordered, reducing waste and enabling unlimited product variety without storage concerns.
This model particularly benefits businesses serving diverse markets, as detailed in insights about how to sell globally and print locally. Regional production facilities reduce shipping times and costs whilst supporting local economies.
Quality Control Protocols
Implementing systematic quality checks prevents defective products from reaching customers:
- Pre-flight verification: Automated checks for resolution, colour space, and bleed compliance
- Proof approval: Customer review before production begins
- Production sampling: Random inspection of printed pages for colour accuracy and defects
- Final inspection: Complete album review before packaging and shipping
- Customer feedback loops: Systematic collection and analysis of satisfaction data
Consistent quality builds reputation and reduces costly returns or replacements.
Maximising Album Longevity
Creating beautiful photo albums represents significant investment of time, creativity, and resources. Proper care ensures your work endures for decades, becoming genuine family heirlooms.
Archival Materials and Techniques
Professional-grade albums use acid-free papers and archival-quality inks that resist fading and deterioration. When selecting printing services, enquire about:
- Paper pH levels: Neutral or slightly alkaline prevents yellowing
- Ink formulations: Pigment-based inks outlast dye-based alternatives
- Binding adhesives: Acid-free compounds maintain structural integrity
- Cover materials: UV-resistant fabrics and leathers protect contents
Storage and Handling Recommendations
Even archival-quality albums require proper care:
- Store in cool, dry environments away from direct sunlight
- Maintain consistent temperature and humidity (ideally 18-21°C, 30-50% relative humidity)
- Handle with clean, dry hands to prevent oil transfer
- Store vertically like books rather than stacked horizontally
- Use protective boxes for valuable or frequently transported albums
- Create digital backups of album files for reproduction if needed
Albums displayed prominently should be rotated periodically to minimise light exposure. Consider creating duplicate copies of particularly important albums, storing one in optimal conditions whilst displaying another.
Adapting Albums for Different Occasions
Different events and purposes demand tailored approaches when you make your own photo albums. Understanding these variations ensures appropriate design choices.
Wedding Albums
Wedding photobooks require sophisticated design balancing formal portraits with candid moments. Chronological structure works well: preparation, ceremony, reception, departure. Include detail shots (rings, flowers, venue decor) alongside people-focused images.
Couples increasingly want albums that reflect their personality rather than following rigid traditions. Modern wedding albums might incorporate Instagram-style layouts, bold typography, or creative paper choices that would have seemed inappropriate decades ago.
Travel Albums
Travel photobooks benefit from geographical or chronological organisation. Consider including maps, tickets, or other memorabilia scanned and integrated into layouts. Location captions and brief anecdotes provide context that enriches the experience when reviewing albums years later.
Landscape-oriented formats particularly suit travel photography, accommodating wide vistas and panoramic scenes. Balance iconic landmarks with candid street photography and local details that capture atmosphere.
Family Yearbooks
Annual family albums document growth and change systematically. Organising chronologically by month or season creates natural rhythm. Include milestone moments alongside ordinary daily life, as both prove valuable with time.
Consider creating consistent design templates across years, making your collection of annual albums visually cohesive when displayed together. Standardised sizing simplifies storage and presentation.
Professional Portfolios
Photographers and creative professionals use photobooks to showcase work to potential clients. These albums prioritise image quality and sophisticated design whilst minimising text. Sequencing should demonstrate range whilst maintaining cohesive aesthetic.
Consider multiple specialised portfolios rather than one comprehensive book. Targeted albums speak directly to specific client types: wedding portfolios for engaged couples, newborn photography books for expectant parents, commercial work for corporate clients.
Making your own photo albums transforms digital files into tangible legacies that preserve memories for future generations. By understanding design principles, leveraging modern technology, and prioritising quality throughout the creation process, anyone can produce professional-grade photobooks. Whether you're creating personal keepsakes or building a photobook business, the right tools make all the difference. Taopix provides comprehensive software solutions that enable businesses to offer customers intuitive design experiences with flexible workflows, delivering personalised print products that exceed expectations.